


A claw hammer is an indispensable tool in both professional construction and DIY projects. Over time, the handle of a claw hammer may break due to heavy use, improper storage, or accidental impacts. As a claw hammer supplier, I understand the importance of maintaining and repairing tools to ensure their longevity and functionality. In this blog post, I'll guide you through the process of repairing a broken claw hammer handle, step by step.
Step 1: Assess the Damage
The first thing you need to do is carefully examine the broken handle. Determine the extent of the damage. Is it a clean break, or is the wood splintered or cracked in multiple places? This will help you decide whether the handle can be repaired or if it needs to be completely replaced. If the break is near the head of the hammer and the wood is severely splintered, it might be more practical to replace the handle. However, if the break is in the middle or towards the end of the handle and the wood is relatively intact, a repair could be a viable option.
Step 2: Gather the Necessary Tools and Materials
To repair the claw hammer handle, you'll need the following tools and materials:
- New Handle (if replacement is required): Make sure to choose a handle that is the right size and shape for your claw hammer. Handles are typically made of wood, fiberglass, or steel. Wood handles are traditional and provide a good grip, while fiberglass and steel handles are more durable and resistant to breakage.
- Saw: A fine - toothed saw will be useful for cutting the broken handle if you need to remove a damaged section or prepare the new handle.
- Sandpaper: Different grits of sandpaper, from coarse to fine, will be used to smooth the surfaces of the handle and the hammer head for better adhesion.
- Glue: A strong wood glue is essential for bonding the handle to the hammer head. Look for a glue that is specifically designed for woodworking and has a high strength rating.
- Clamps: You'll need clamps to hold the handle in place while the glue dries. Locking Vice Grip Plier can be very useful in this step as they provide a strong and adjustable grip.
- Drill and Bits: If you need to drill holes for dowels or screws to reinforce the connection between the handle and the hammer head, a drill and appropriate bits are necessary.
- Hammer Head Protector: To prevent damage to the hammer head during the repair process, you can use a piece of soft material like a cloth or a rubber pad.
Step 3: Remove the Broken Handle
If the handle is broken and needs to be removed, start by placing the hammer head in a vise. Make sure the vise is tightened securely but not so tightly that it damages the hammer head. Use a Swedish Pipe Wrench or a similar tool to hold the hammer head firmly in place.
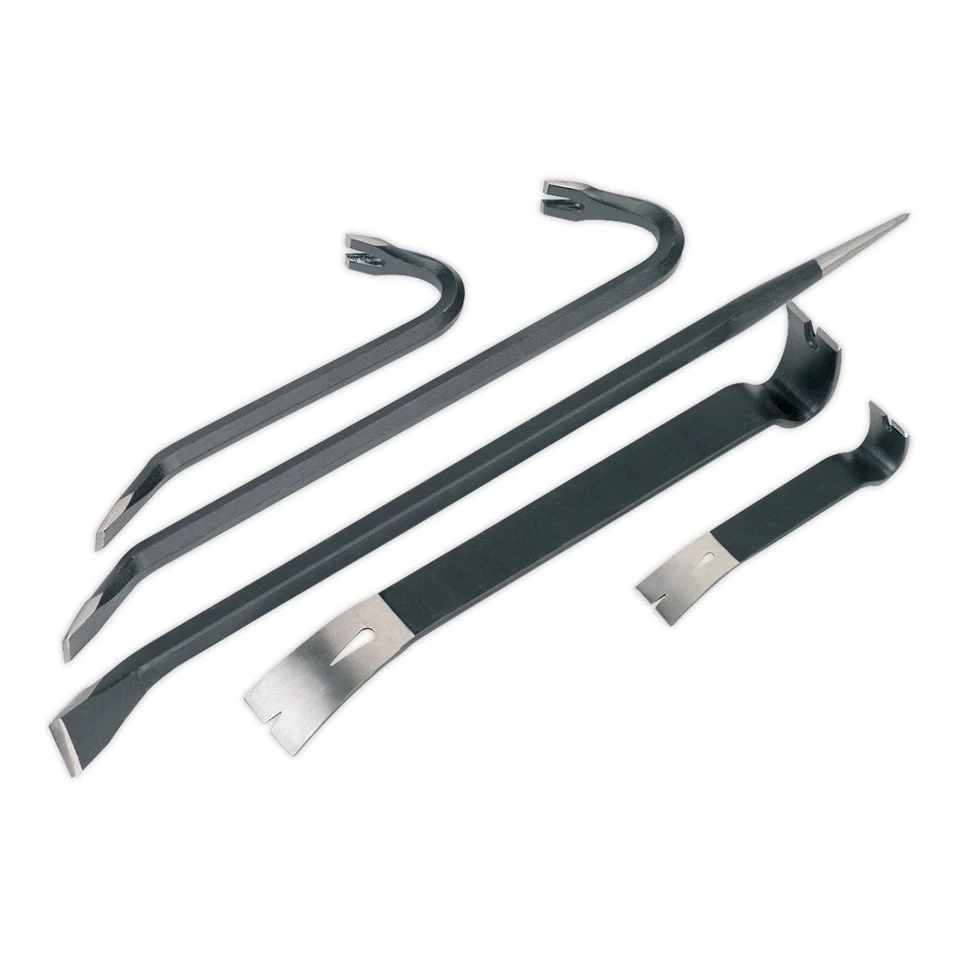
If the handle is held in place by a wedge, carefully remove the wedge using a small chisel or a flat - head screwdriver. Once the wedge is removed, you can usually tap the handle out of the hammer head using a mallet or a block of wood to protect the head. If the handle is stuck, you may need to use a Wrecking Bar Pry Bar to gently pry it loose. Be careful not to damage the hammer head during this process.
Step 4: Prepare the New Handle
If you're using a new handle, start by measuring and marking the length you need. Use a saw to cut the handle to the correct length. Make sure the cut is straight and clean.

Next, sand the end of the new handle that will fit into the hammer head. Start with coarse sandpaper to remove any rough edges or splinters, and then finish with fine sandpaper to create a smooth surface. This will ensure a better fit and a stronger bond with the glue.
If the hammer head has a tapered hole for the handle, you may need to taper the end of the new handle to match. You can do this by using a rasp or a file to gradually shape the end of the handle.
Step 5: Apply Glue and Attach the Handle
Apply a generous amount of wood glue to the end of the handle that will fit into the hammer head. Make sure to spread the glue evenly over the entire surface. You can use a brush or a small spatula to apply the glue.
Insert the glued end of the handle into the hammer head. Tap it gently with a mallet to ensure a snug fit. If the handle is too loose, you may need to wrap some thin strips of wood or sandpaper around the end of the handle to make it fit more tightly.
Once the handle is in place, use clamps to hold it firmly. You can use Locking Vice Grip Plier or other types of clamps to secure the handle to the hammer head. Make sure the handle is straight and centered in the hammer head.
Step 6: Reinforce the Connection (Optional)
For added strength, you can reinforce the connection between the handle and the hammer head by drilling holes and inserting dowels or screws. Drill holes through the hammer head and into the handle at a slight angle. Make sure the holes are the right size for the dowels or screws you'll be using.
Insert the dowels or screws into the holes and tighten them. This will help prevent the handle from coming loose over time.
Step 7: Let the Glue Dry
Allow the glue to dry according to the manufacturer's instructions. This usually takes several hours or even overnight. During this time, make sure the clamps are still holding the handle firmly in place.
Step 8: Finish the Handle
Once the glue is dry, remove the clamps. Use sandpaper to smooth any rough edges or excess glue on the handle. You can also apply a finish to the handle, such as varnish or oil, to protect it from moisture and wear.
Step 9: Test the Hammer
After the handle is finished, test the hammer to make sure it is working properly. Swing the hammer gently a few times to check for any looseness or wobbling. If everything seems fine, your claw hammer is ready to be used again.
Conclusion
Repairing a broken claw hammer handle is a relatively simple process that can save you money and extend the life of your tool. By following these steps and using the right tools and materials, you can easily repair a broken handle and get your hammer back in working condition.
As a claw hammer supplier, I'm committed to providing high - quality tools and helping our customers maintain and repair them. If you have any questions about claw hammer repair or if you're interested in purchasing new claw hammers or related tools, please feel free to contact us for procurement and further discussions.
References
- Woodworking Basics: A Guide to Tools and Techniques, John Doe, 20XX
- Construction Tools Handbook, Jane Smith, 20XX


